It’s been a while since I’ve been able to spend a few moments to update, so I thought I’d spend some time talking about the chicken coop and some of the upgrades it has recently gone through.
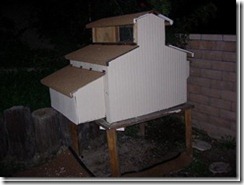
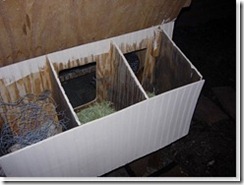
It now has a composite roof and the nesting boxes are now finished. I decided to only cut holes for 2 of the boxes and use the third box for storage.
I was at Lowe’s this weekend trying to find some suitable roofing material in order to protect the plywood roof – most of what I found was either to heavy (clay and cement roofing tiles) or just plain ugly (corrugated steel).
The perfect choice for me was a composite roof – light and fairly easy to install. However, even the roofing tiles seemed like overkill for a small chicken coop. It involved the roofing cement, felt paper, nails, and of course special pieces for the roof line, plus all the strips of composite roofing tile ( a small square of these roofing tiles was also around $50 – not what I want to spend on a chicken coop)
Then I hit upon the perfect solution – A roll of selvage mineral roofing material. This is a big roll (108 sq. feet) of composite roofing material without the tiles pre-formed so it can literally just be laid down kind of like butcher paper on the kitchen table. Granted, it’s meant for large flat roofs, but at $20 for the roll and knowing I could lay a complete piece down over the roof point so I wouldn’t need the special pre-formed composite tile peaks and hips, it fit the budget.
I took the roof off and cut each piece to size, with a bit of overlap along the roof edges. I laid down a couple of beads of liquid nails on the plywood to make sure the roof wouldn’t go anywhere and screwed the hinges back on over the roofing material.
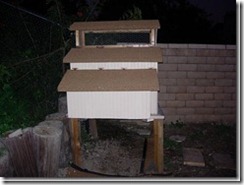
I also took the time to paint the coop as the raw plywood was looking a little worse for wear. That was pretty much a no-cost project as I used the house paint we had left over from when we painted the exterior of our house several years ago and a paint brush I had in the garage (which I think I left in the bathroom sink, sorry hon!). Some of the excess roofing material was laid down around the base as my drop cloth.
The result is a somewhat better looking coop that should stand up to the weather a lot better in the coming years. I think the girls are happy about the new addition.
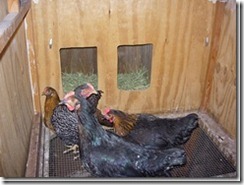
And of course, the reason for this whole thing – my girls are growing up and starting to lay eggs. So of course they needed a proper nesting box and a good looking coop!
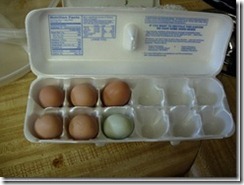
Right now, it looks like only the Americana and the Plymouth Barred Rock are laying (green egg is Americana, brown ones are Barred Rock) but I’m expecting the other two black sex-linked to start laying any week now.

